Showing posts with label homesteading. Show all posts

Wednesday, July 29, 2015

The Fine Art of Line Drying

I don't know what it is, but I feel like the perfect little housewife when I line dry clothes. It's really the only chore that I absolutely, thoroughly enjoy. And why not? I get to be outside on a perfect day in the sunlight and fresh air while burning about 70 calories in a half hour. Perfect! It saves money on gas/electric if using a machine you own or the stacks of quarters needed for a pay-machine. Dryer lint is basically just your clothes shredding, so line drying helps your clothes last a little longer. There's every reason to line dry your clothes. Here are my tips and tricks for efficiently and easily line drying all of our clothes.

Buy clothespins from the dollar stores. A big pack of wooden ones costs $1 (for 36 at Dollar Tree) and lasts just as long as more expensive ones. Keep an eye out for clothespins at thrift stores too. You can really never have enough.

Don't buy the cheap rope clotheslines that the dollar store sells. They are a little cheaper, but they do not last as long as a nice, plastic encased line. Worse yet, they will start shedding and will leave fuzz all over your clothes. As it is, the price difference is negligible: $1 for a cheap line, $4-6 for a nice line. When you consider that you'll go through 2 (at least) in the first year if you leave them in the elements, whereas the nicer ones will last for years, it's a no-brainer. Plus you don't have to try to dust off the fuzz from your hubby's favorite t-shirt without him noticing.

When you hang your clothesline, stretch it as tight as possible and leave a tail when you cut off the excess. As you hang clothes, the line with stretch a little or a lot depending on the quality of the line. If you leave a tail, you can pull it tight and retie as needed.

You can use as clothespin bag to hold your pins while you work, or keep them all in a clothespin apron (basically a half apron with a giant front pocket for holding the pins). I don't have either. I have a pretty basket that I put on my patio table (right next to my line). I pin a dozen or so pins onto my shirt, grab a handful of clothes and go hang. It's not pretty, but it works until I get around to modifying one of my aprons.

If you have your choice of weather, go for a warm, low-humidity day with a good breeze. This will ensure that your clothes dry quickly. Also, windy days make for softer clothes which makes for happier families.

If the weather is uncooperative (as I write this, we've had rain 28 of the last 30 days), you can still hang dry clothes, you just have to hang them inside. Get creative with this. Hang light items from hangers on the shower rod (don't hang too many or too heavy items or it will fall). Use clothespins to hang items from a wire shelf (again, stick to lighter items) or a thin towel rod. If your wire shelf is securely fastened to the wall, you can hang some lighter items from hangers slid in between the wires. Hang items from door handles or bathrobe hooks. Hang items from the oven door handle. Drape items over the back of wooden chairs. Drape items over stairway banisters. Lay items such as sweaters or shirts flat on a table, counter or the washing machine. Or you could go conventional and get an indoor clothes drying racks. Whatever.

In my old apartment, there were hooks in the basement where we washed our laundry. We strung up a clothesline and were able to line dry regardless of the weather. This basement wasn't very musty or humid, so this worked well. Clothes took longer to dry than outside, but it was a workable option, especially in winter.

If you have a "hang dry" setting on your washer, use it. This will spin the clothes longer to get them a bit dryer before you line dry them. If you don't have the option, simply set your dryer to spin dry a second time. In fact, this is a good tip even if you use the dryer as you can run the dryer for less time.

Make allowances as necessary for family bliss. Trucker is all for my efforts to save money and act in an environmentally responsible manner. What he's not a fan of is crusty jeans, towels and socks. Fair enough. I don't want to force him to wear uncomfortable jeans and have him snap and declare that all of his clothes much be machine dried. Instead, I line dry everything, then take down the items that are very rough, and toss them in the dryer for 10 minutes. It softens them just enough to be comfortable for him, but not long enough to make much of an impact on our energy bill. I soften our towels, jeans and socks; nothing else is crunchy enough to need it.

If you have to pay for use of a dryer, the above tip won't help you, since you'd still have to pay $1.50 for the 10 minutes. Instead, wait until you have a few loads of laundry to wash. Wash all the loads at once, then separate out the items you want to dry in the machine from the ones you are okay with line drying. Usually, you can consolidate three or four loads of wash into one load for the dryer. Line dry the other 2-3 loads and you'll save $3-4.50. This was my method when we lived in an apartment with pay-appliances.

I generally sort my clothes as they come out of the wash into my large basket. I put heavy items on the bottom, then have one corner of shirts, one corner of underwear, one of socks and one of dish towels/wash cloths/rags. This makes it easier and more efficient when hanging the clothes. Also, my clothesline will hang two medium-large loads of laundry, but I usually end up washing three loads. I start by hanging the light items from the first load, then work to the heavier items. I do the same with the second load. By the time the third load is coming out of the wash, the some of the lighter items are dry and I can remove them and start hanging items from the third load. Yes, I am aware that my OCD is showing. But it works.

As you pull damp clothes from the bin, give them a good snap. This will make for softer, less-wrinkled clothes. (This tip is also good for machine drying as it prevents tangled up messes that take longer to dry).

On sunny days, turn jeans and dark clothes inside out to prevent fading. Make sure to remove dark items as soon as they are dry. For whites that need brightening, leave them out in the sun as long as you please as the sun acts as a nice, natural bleach.

On really windy days, overlap an inch of fabric from each piece over the line and put the clothespin over both layers. This will keep the clothes from blowing off onto the ground.

If you are running out of space or clothespins, you can run a row of dishcloths or other lighter items together. Overlap the corner of the two pieces and use one clothespin to hang it. You can run this as long as you'd like. This saves enough space to add a couple more items and uses one less clothespin per item. This will take a little longer to dry, but helps in a pinch. You can also hang them using just one clothespin, but I find this tugs them out of shape, so I prefer this method. If you have plenty of space and pins, use two pins per piece. Hang dishtowels with a button-closure hanger by fastening over the line. This saves space and clothespins.

Towels are draped over the line. After awhile, if I remember, I flip them around. I'm not sure if this speeds dry-time, but I do it anyway. To dry them faster, hang in a single layer horizontally, fastening with 3-4 clothespins.

I drape sheets in half across the line and fasten a few pins along the length to keep it from blowing off if it's breezy. Blankets are draped in half also, and flipped after an hour or so.

I hang socks by the cuffs. Most people have told me the proper way is by the toe, but Trucker thinks this makes the toes wear out faster. Again, family bliss. I hang them by the cuffs. You can hang pairs together if you'd like to save hands-on time, although it may increase dry time.

Underwear is hung using two pins if I am trying to dry items quickly or by one if I am running short of space and/or pins. I hang boxers by the waistband with two pins. I drape bras over the line and fasten the clasp.

I hang t-shirts and tank tops by the bottom, using 2-3 pins per piece. I button dress shirts, then use 3 clothespins, one on each side and one in the middle.

Dresses can be hung from the top using a 2-3 pins depending on the dress. I often hang them on a hanger and hang these either on the line or inside.

I hang pants/jeans by the legs. Some people hang them from the waistband saying it dries them faster. However, the weight of the waistband gently tugs the pants down, eliminating wrinkles.

When the items are dry, I bring out two baskets, 1 large and 1 small. I first take off every piece that I want to fluff in the dryer: jeans, socks and towels. I toss these into the small basket and take it all in immediately to the dryer. I toss it all in at once and set for 5-10 minutes. Then I go back out to the rest of the laundry. I take down items by type, jeans/pants first, then t-shirts/tanks, then underwear. I fold each piece as I go and place Trucker's items on one side of the large basket and mine on the other. When all other items are removed, I drape dress shirts and dresses over the top so they don't get wrinkled before I have the chance to get it on a hanger. By the time I'm done removing and folding these items, the dryer is done and I can fold those items.


Did I miss anything? Do you have any tips to share with everyone?

Shared on:
Wordless Wednesday Hop

Monday, September 8, 2014

Dandelion Coffee

I love the real stuff, but there are plenty of benefits to brewing caffeine-free dandelion “coffee”: It’s a great tonic; it uses something that is otherwise considered an invasive weed; it’s an easy DIY project; and it’s free! It’s also as local as you can get, since you can dig dandelion roots right out of your yard. And unlike coffee, you can make it almost anywhere.

You'll need:
* in-ground dandelion weeds
* trowel
* veggie brush
* skiller
* coffee grinder

Dandelion roots are best dug in either early spring or late fall. Whenever you dig, be sure you’re doing so in a chemical-free yard or green space. Dandelion roots go deep, so dig deep down before firmly pulling up on the root, using the top of the plant as a handle. Whenever you are breaking sod on a new garden bed or weeding an existing bed, set aside the dandelions as the hard part is already done.

Once you have a large quantity dug, cut off the entire top part of the plants. (If you harvest in early spring, the leaves are awesome as a salad or a cooked green.


The roots are very dirty, so you need to take care to clean them thoroughly. They will be easier to clean if you let them soak in water for a half hour. Run the roots under cold water and use the veggie brush to clean them well. Repeat until the water runs clear. Dry them on a towel.

Chop them into small pieces. Allow them to air dry for two weeks. When the roots have thoroughly dried, roast them in a dry skillet, stirring frequently, until they are a dark, rich brown—about 10 to 15 minutes. Then grind them in a coffee grinder.

You can brew a "coffee" straight from the ground dandelion roots or you can mix the ground roots 50-50 with coffee. If you’re going roots only, use 1 Tbsp roasted dandelion roots per cup of water. I usually do the 50-50 version and brew it in my coffee pot, although you can also simmer the ground roots in a saucepan on the stove top until the liquid is a rich brown and then strain out the roots.


Either way, the brew is earthy, nutty and slightly sweet—perfect as is, or you can dress it up with cream and sugar. (It does have a slightly sweet flavor on its own, so I skip the sugar.) Dandelion roots have no caffeine, so dandelion coffee is ideal for evening sipping or for those who are trying to cut back on the hard stuff. Enjoy.


I originally published this on Homegrown.


Featured on:
FTF Favorite Button
Shared on:
From The Farm Blog HopThe Self Sufficient HomeAcre

Saturday, July 19, 2014

The Garden Experiments Update

I love experimenting in the garden. It's the greatest joy to garden, especially when I get to try new ideas. It starts with a "hmm, wonder what would happen if..." and then I start experimenting. I have a challenging yard for gardening: shade, clay soil, and crowding. I've mentioned both on this blog and on social media some of the experiments that I'd either started or wanted to start. Some are great successes, and some wild failures. I thought I'd post some updates and let you know what I'm learning. I'll definitely give more details as the season progresses, but this stuff is so exciting, I wanted to share it with you all ASAP.


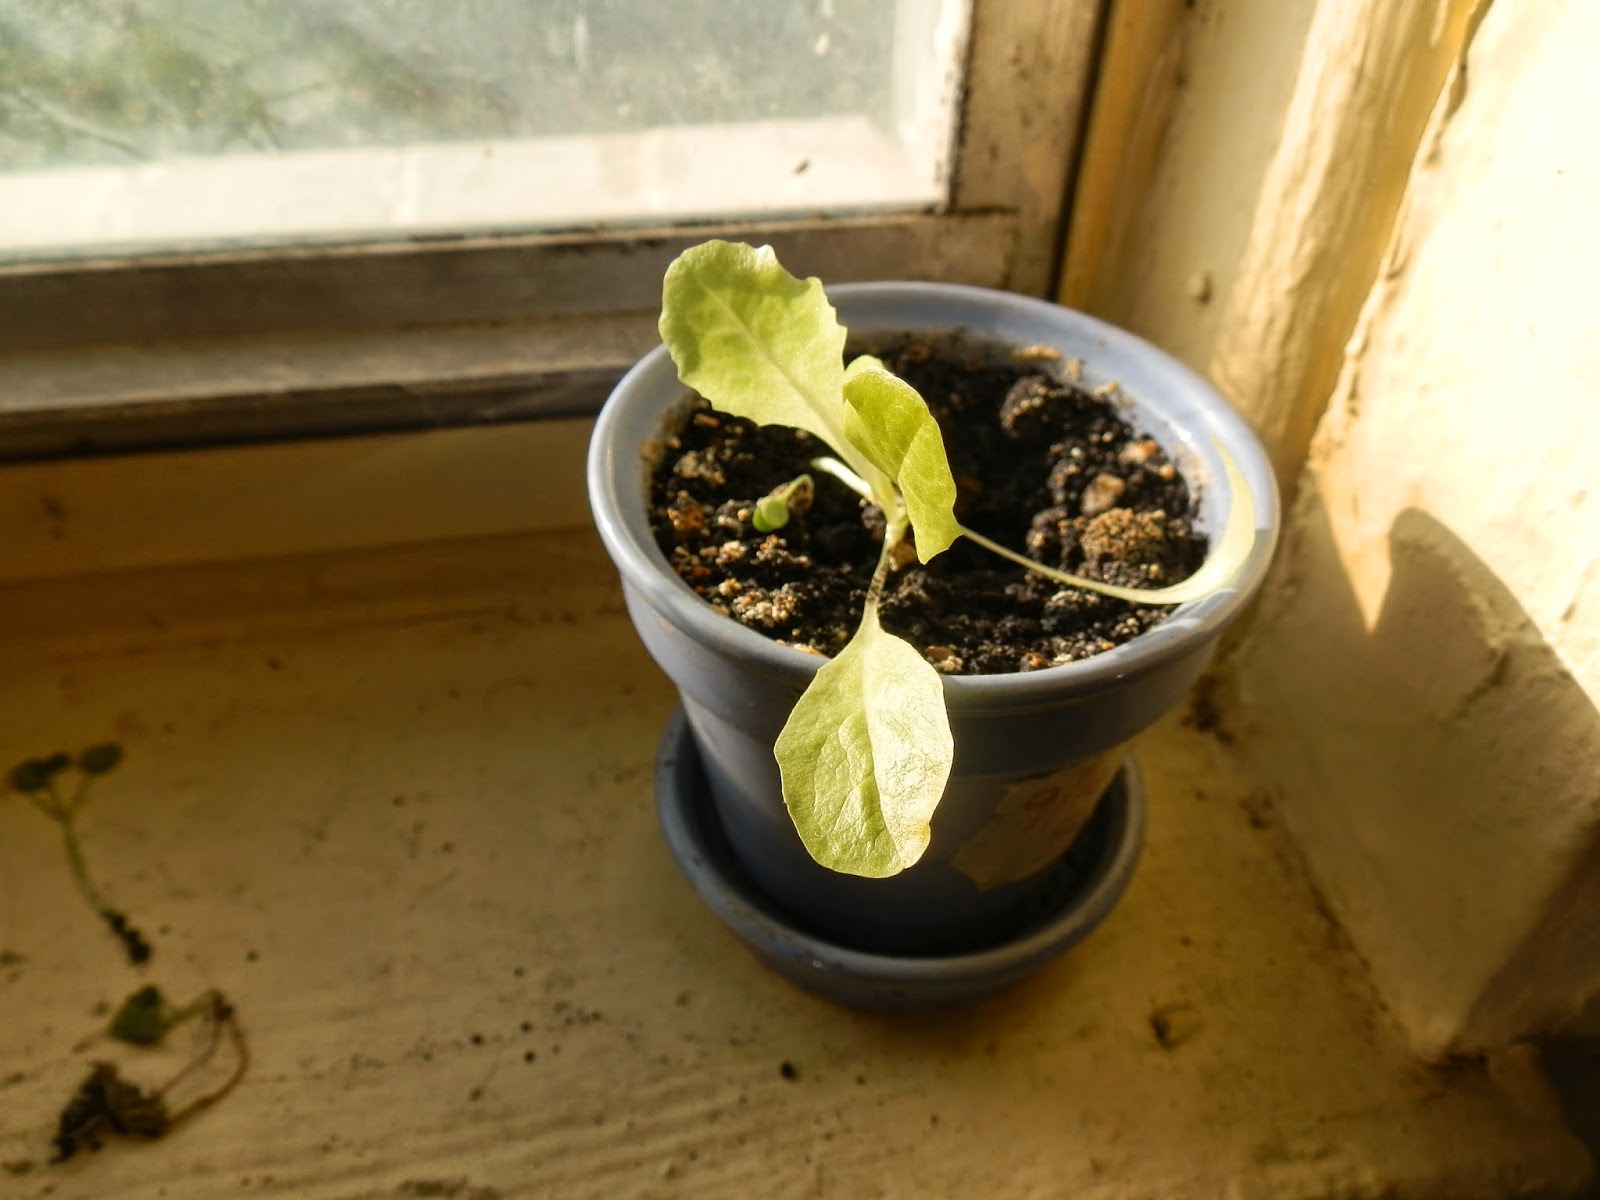
The Indoor Winter Paradise. Over this past winter, I grew lettuce indoors. I wrote a detailed piece on it here. To sum up: I planted 6 containers. One was a tiny container with 6a single Black-Seeded Simpson lettuce plant. It was cute, to be sure, but a waste of space. Next year, I'm sticking to 6" containers or bigger. 2 were planted to spinach, and 3 more to red sails lettuce and endive. I planted the last 5 heavily. The spinach never grew large, but the tiny leaves were wonderful in salads. However, the two containers barely produced any real bulk, and so this coming year I will not plant more spinach indoors. The lettuce and endive containers were incredible. We ate loads of salad all winter long. A thorough harvest of the containers was enough for 2 large side salads. I will definitely do this again every. single. year. There is no better way to beat the doldrums of a bleak winter than to harvest a fresh salad. Seriously, though.

The Senior Citizen Peppers. Last year I heard about overwintering peppers and so I decided to give it a go. I'd only got 1-3 peppers per plant last year, so I figured I had nothing to lose. I chose the best two Jimmy Nardello peppers I had last year: the one that gave me the first pepper (although only the one) and the one that gave me the most (3). I dug out about 8" from the stem and plopped the plant into a medium-large container. I filled it in with earth and reused potting soil. When I first brought them in from the crisp autumn air to the warm indoor climate, they exploded with new growth and flowers. I didn't want them to pucker out, so I picked off all of the flowers so they wouldn't put energy into producing fruit. I put them into an area that got some indirect light, but no direct light. It was by a leaky window, so it was cool, but not freezing. After a couple of weeks, they dropped some of the leaves and went dormant. I watered them every week or two but didn't give them any food. Then, in spring, quite on their own, they vamped back up. Lots of new growth and flowers, so I moved them to an area with some good light. I picked off all the flowers so they could focus on growth for now. I planted them out into the garden the same day as my first-year transplants. Now, several weeks later, the results are in. First year plants: 1 of 7 has two small peppers, the rest have flowers only or nothing at all yet. Overwintered plants: I've already harvested 5+ full sized peppers (unripe, but huge) from each plant. Some readers have said you can overwinter a plant for several years. I'll definitely do this again every year.

The Pairing. Tomatoes and Pole Beans. Last year, I planted my Scarlet Runner Beans next to my tomatoes. They kept going off their trellis and onto the tomato plants. At first, I tried to put them back on the trellis, then just let them go. The bright red flowers looked beautiful next to the rich green of the tomato plants and they seemed happy enough together. This year, I picked some pole beans to plant with my tomatoes intentionally. I picked Dean's Purple Podded Pole Beans so I could see the beans among the leaves for easy harvest. I planted 4 beans around the tomato cage. The beans grew up the cages, then over to another cage, then out, then dropped down to lower on a cage, and back up. They are all over the tomato plants. The flowers and stems are a lovely purple and it looks incredible. I have no pole beans yet, but lots of flowers, so hopefully soon. Of the 8 tomato plants with beans growing around them, 5 have tomatoes and loads of them. 3 do not have any tomatoes or flowers yet, but they are the plants in the back and in the shadiest part of the bed (remember that I have little full sun, and this affects my garden a lot), so I assume that the shade is the cause, and not the beans. I will update as the harvest season arrives.


The Perpetual Lettuce Bed. I dug up an overgrown, ugly area of the yard. It is shaded by a big tree in the neighbor's yard. I want it to become a perpetual lettuce bed. For this year, I planted a lot of random things: broccoli (all eaten by bugs), cauliflower (all eaten by bugs), spinach (disappeared overnight), cilantro (spotty germination), pak choi (all eaten by bugs), mustard greens (fantastic harvest that has lasted months so far), summer squash (loads of flowers, but no fruits yet), beans (no germination whatsoever, but they were old seeds). Now, I have some radishes and lettuce planted in some of the spaces where other things had failed to grow. The radishes seem fine, but the lettuce had a poor germination. I think the giant tree that shades the entire area may be responsible for the spotty germination, as the plants that have done okay are farther from the tree. There are some tomato and pepper plants that volunteered from the homemade compost I dumped on last autumn (black soldier flies turned that batch into a horror-show of writhing, so I dumped it out for the birds to feast on...it was terrifying, really). The tomatoes have fruited and the peppers have flowers. There are a lot of weeds, but I've been removing it as I go. This winter, I plan to dump on some compost and loads of leaves and plant it to lettuces in early spring. For this year, I've gotten some food and hope to get a little more, but it is not wildly successful. I do have hope that it can grow something, and I'm not giving up on it quite yet. If next year the germination is pathetic, I'll just sow it to something like mint and let it go wild.

The Decorative Container Garden. I decided that for the front garden, in the area between the sidewalk and the street, I wanted to put some large containers planted to pretty edibles. I decided on Burgundy Okra as the thriller based on it's rich stems and fruits, milkmaid nasturtium as a spiller, and freckles lettuce as the filler.They were not as brilliant as I expected. It's a boring planting really, and just didn't work out as I'd planned. The okra falls over without support. The nasturtium variety I picked is bushy, not spilling like I'd read online (What? Not everything you read on the internet is truth???). The freckles lettuce is an effective filler. One planting gets a bit more sunlight and is much bigger. The okra plant already has fruited. The nasturtiums are in bloom. The lettuce is wicked big and I'm harvesting enough for two-side salads every day. The other planting? The okra hasn't flowered yet. The nasturtiums failed to germinate the first time, and there's only one flower. The lettuce is much smaller and I've had to plant in a lot of Black-Seeded Simpson lettuce to try to fill it in a bit (that's all the lettuce seed I had left). The second planting is under a tree, so it get's less sunlight, and I think more rain since it is right under a branch end. It is often flooded (Yes, I need to drill a couple holes). I'll keep trying at edible landscaping, but this planting does not work.

The Pea High Chair. I have an old wooden chair I dumpster dived. It's wobbly but pretty. I imagined it covered in pea vines. I plopped it in the garden and planted peas all around it. I planted spinach underneath it, thinking that since spinach bolts easily, maybe the shade from noon-sun would protect it. The peas germinated well and looked great. And then....then the groundhogs came in. They ate them down, and then we'd attempt to repel them with airguns, solar-powered high-pitched squealing motion detectors, screaming, cursing, and finally, even some organic small-mammal repellent (I believe it was some sort of predator urine). They kept coming back and nibbling the shoots. Sigh. I got a few peas, but that's it. The spinach germinated okay, but died off shortly. Failure. I will not grow peas again at this property. Two years I've planted, multiple times a spring, and the groundhogs or rabbits always get them.

The Hugelbeet-Inspired Bed. There was a low spot in the back yard, so I decided to do a hugelkulture-inspired project. I dug out the sod and top soil, then laid down a bunch of branches and logs. I sprinkled in compost and composted cow manure, then added some leaves then turned the sod upside down on top. I put the top soil on top of that, and added a couple bags of compost. It rested a good 6 inches higher than the rest of the yard. As time has passed, it has shrunk down so it is roughly even with the rest of the yard instead of being 6 inches lower than the surrounding ground. On that count, it is a success. In other ways, it is mixed. I planted beans,cukes and squash on the bed. I know that squash is a heavy feeder, but I had extra seedlings, so there they went. The squash and cukes have flowered, but no fruit. The beans all flowered like mad and have put on a thick set of beans. The leaves on everything are light green and yellow. I think this is simply a matter of it being a first-year bed, and the wood is tying up some nitrogen while it breaks down. Between the aging of the wood, some coffee grounds I've been dumping on it, and my plans to work in the expired bean plants, I think next year will be better. I'm getting a harvest from it, and that's the important thing! There have been a lot of weeds, but I've noticed that in every new bed. I've been faithful at weeding, however, and the stand of weeds has diminished significantly.

The Crowded Room. I have a couple containers in the front garden by the front door overcrowded in an attempt to see just how much I can cram in and still get a harvest. One planter has a tomato plant and an underplanting of radishes and beets. The other has 4 pepper plants and an underplanting of radishes. In the first container, I have a lot of tomatoes. Score. The beets have been sulking and not putting on any growth. The radishes are starting to bolt. I will likely harvest the beet greens for salad and allow the radishes to put on those deliciously crunchy seedpods. In the second container, the peppers look okay and have unopened flower buds so far. I will likely harvest half of the many radish plants to put into salads and see if the remaining plants will bulb up at all.

So what about you? Have you had any fun experiments in the garden?


Shared on:
Homestead Barn HopThe Self Sufficient HomeAcreWildcrafting Wednesday

Sunday, June 1, 2014

The Prettiest, Fluffiest Mulch I've Ever Seen

A few weeks ago, I was working in the garden, getting the garden beds ready for a thick planting of tomatoes, peppers, eggplants, squashes, peas, beans, etc. I was working compost into the beds and thought that I wished I knew of a good, cheap source of mulch for the beds. Every source I'd found was too expensive for my tastes. I'd thought about rounding up all of the neighbors' yard waste and spending the $100 to rent a wood chipper for a day. Then it hit me.


When we moved in, there was a large tree stump that we knocked over while cleaning up the tree line. It had sat outside through two winters, at least. I stepped on it. My foot caved into the fluffiest, softest, most beautiful mulch I'd ever seen. I was easily able to break apart almost all of it by hand. The few pieces that weren't able to be broken apart easily were tossed aside. When I dig my next garden bed, I'll bury those pieces in the bottom to continue decomposing and improving my clay soil.

The stump was huge and I was able to mulch 2 1/2 out of 4 beds for free. This is a good reminder that I should look for ways to repurpose or reuse items around the stead before considering buying something I need.

Shared with:


Homestead Barn Hop13 Heritage Homesteaders Hop #1The Self Sufficient HomeAcre

Monday, April 28, 2014

Growing Food in Less Than Ideal Conditions


A lot of people want to be more involved in producing their own food, but think they can't because they don't have the "proper" setup. Maybe the yard is tiny. Maybe it's shaded or the soil is hard clay. I have a lot of those same issues, but still grow a lot of food. I thought I would share my back yard with you so you can see that even with a challenging property, you can still grow some of your own food.  The photo on the left is of my backyard when we bought the property. It is late summer when this picture was taken. The picture below is the property  in spring before the leaves have really filled out.

My property is 1/5 acre total, about half of that is the backyard. My soil is clay or clay loam depending on the part of the yard. There is also a lot of gravel in the soil, so I try to remove as many stones as I can while digging the bed. Whenever I work in the garden, I remove any rocks I see. Rains expose more over the course of the season, so in a year, I remove a lot.


The property line is all trees, so the perimeter is completely shaded.  There is a huge tree on one side that casts shade over half of the backyard. There is only one section that gets good sun, that's the two horizontal beds . The two vertical beds get partial shade, but enough sun to grow food. I will be digging another bed along the back where the fire pit is now, as that area also gets good sun. One lovely benefit of the treeline: I have 7 mulberry trees, and when in season, after work each day I walk around and pop fresh berries in my mouth as a perfect snack. Can't beat that.


To maximize our sunny areas, Trucker has been thinning out the treeline, removing a couple of medium-sized trees that were in the way. He also ruthlessly prunes back the trees to give me a little more sunlight. While I loved the privacy that the thick stand of trees provided, I like homegrown tomatoes better.

Since I knew what areas got the best sunlight, I planted my sun-lovers in those beds, and used the other beds for vegetables that tolerate a bit of shade. The sunniest beds housed my tomatoes, peppers and eggplants. The partially shaded beds were home to peas, carrots, radishes, spinach and lettuce. Last year, the tomatoes went nuts! We had more than we could eat fresh. I was able to dehydrate several gallon containers worth, which we are just now finishing in late April. I was even able to sell some of the green tomatoes to one of Trucker's coworkers. Even with the limited space, we got a huge harvest.


This area is under a neighbor's tree just over the property line. It casts pretty heavy shade for a lot of the day, but gets some sunlight in the evening. It was overgrown in weeds and just looked bad (left photo). I dug out all of the weeds, dug the bed and worked in some compost. I smoothed it out into a seedbed. I planted it with beans, lettuce, spinach, mustard, swiss chard, onions and sprouting broccoli (right photo). All of these can tolerate some shade, but won't give as good a harvest as if they got more sunlight. Even with a more limited harvest, it's better than nothing, and seeds are cheap enough. Trucker bought me a ton of seeds this year, so I can be free with planting.
A side benefit for the greens is that the shade will keep them from getting so overheated, so they might not bolt as quickly. At my old apartment, I had a 2'x2' bed that I seeded to lettuces. It got only 1-2 hours of sun a day, but grew well and didn't bolt in the summer heat. I had greens from late May through late October.


My soil is clay or clay-loam depending on the area. The areas directly under trees are clay-loam or even loam, which makes sense due to the leaves falling and decomposing into the soil. I do not throw away any yard waste from our property. All leaves are raked and used in mulching or composting. All weeds are either left to dry and then composted (before they've gone to seed) or burned and the ash worked into the soil (if they have gone to seed). Branches and trees are chopped and used in hugelkulture-type projects, or they are burned during one of our bonfires with friends and the ash worked into the garden beds. I sometimes use straight branches as trellises for beans. After mowing the lawn, I allow the clippings to dry for a few days, then rake and store to use as a brown in my compost. In addition, I compost every scrap of organic matter I can-even the weird stuff. Sometimes I take eggshells home from my job at the bakery to make into a great fertilizer for tomatoes to prevent blossom end rot. I've even been known to scoop up bags of leaves from the curb.

Regular applications of compost, manure and mulch can save a bad soil. I already see a difference in my garden beds from last year. They are fluffier and darker than last year. My parents' soil used to be hard clay. We would dig up clay and sculpt with it. After a decade of adding as much organic matter as they can, they have a very nice, productive plot with good, soft, rich soil.

In my lawn, there were a few low areas that allowed water to pool, looked bad and made mowing difficult. To remedy the situation and claim the area as a garden bed, I make a simple hugelkulture-type bed. I dig out the topsoil and put aside. I bury as much woody material as I can in the low area, such as broken up branches or logs. The older the wood the better. Then I sprinkle in some wood ash from the fire pit. If I have some produce scraps or coffee grounds from the kitchen, I work those in with the branches. If you have access to manure, put that in now. Dry grass or chopped leaves go on top of that, followed by the sod, turned upside down to kill out some of the grass (there will still be weeds, but not as many). On top of this, I put the rest of the topsoil as well as some good compost or aged manure if I have it. I pile enough material in that the area is about six inches or so higher than the surrounding area. As the material breaks down, the bed will sink a bit and I want it to sink to be level with the surrounding area.

If there is no option of growing outside-say a HOA restriction, renting, apartment living or just in winter, grow indoors! This one windowsill of lettuce and spinach provided some much needed fresh salad during months when we couldn't grow outdoors. We got our first harvest in December and got our last harvest a week ago (Mid-April).

If you have any sunny windows, fill them up with lettuce, pea shoots, cherry tomatoes, green onions, radishes, herbs, spinach, beets and carrots. Even if you have no sunny windowsills, you can sprout beans and seeds in a cupboard.

My house faces south so the front yard gets much more sunlight than the back garden. This year, I'm branching out into edible landscaping. I have chosen several pretty plants that I am going to mix into the flower beds in front. Scarlet Runner beans have beautiful leaves, stunning flowers and attract hummingbirds making them a perfect decorative plant, and I get green beans! Ruffly red and speckled lettuces will fill in empty spots between flowers. Large planters matching the house will hold Burgundy Okra, Milkmaid nasturtiums, and Red Sails lettuce. One will go on each side of the driveway.

Being able to grow your own food is a magical thing. It tastes absolutely incredible, is much fresher than anything you could buy anywhere, and it's incredible to casually mention during a dinner party "Oh, those tomatoes? I grew those."

Shared on:
From The Farm Blog HopHomestead Barn HopThe Self Sufficient HomeAcre13 Heritage Homesteaders Hop #1Simple Saturdays Blog HopStrangers and Pilgrims on Earth

Related Posts Plugin for WordPress, Blogger...